Tiling a bathroom floor is one of those jobs that looks simple from the doorway and turns out to be mostly preparation. The setting itself — the part everyone pictures — is maybe a third of the work. What separates a floor that still looks right in fifteen years from one that cracks in two is almost entirely what happened before the first tile went down.
Here’s how the work actually goes, what the decisions are, and where a homeowner tackling it should be realistic about the limits.
It starts with the subfloor, not the tile
Tile is rigid and completely unforgiving of movement. If a floor flexes underfoot, the tile or the grout will crack — not necessarily immediately, but eventually and permanently.
So the first job is establishing whether the floor is stiff enough. Walk it and feel for deflection. Look for softness or discolouration near the toilet, tub and shower, which is where slow leaks show. Check whether joists have been notched or drilled badly by a previous plumbing run.
If the floor moves, that gets addressed before anything else. Adding a layer of tile adds weight without adding stiffness — it does not fix a bouncy floor, it just puts something brittle on top of one.
Flatness is a separate question from level
These get confused constantly. Level is whether the floor is horizontal. Flat is whether it’s free of humps and dips. Tile cares enormously about flat and relatively little about level.
A floor that’s slightly out of level is usually fine. A floor with a dip in the middle will produce lippage — adjacent tile edges sitting at different heights — which you feel underfoot and see under any raking light.
The larger the tile, the flatter the substrate has to be. A large-format tile bridges across dips instead of following them, so every imperfection shows up at the joints. This is the single most common reason a large-tile floor looks amateur.
Getting a floor flat means a self-levelling compound, patching, or in some cases an additional layer — and it’s real work with real material cost that produces nothing visible.
The substrate layer
Tile shouldn’t be bonded directly to a bare wood subfloor. Something goes between: cement or fibre-cement backer board, or an uncoupling membrane designed to absorb small movements between the substrate and the tile.
Each has its own requirements — how it’s fastened, what it’s bedded in, how joints are treated. The detail matters as much as the choice. In a bathroom it’s also worth thinking about where water could reach: around the toilet, at the shower entry, along the tub.
Layout: the decision that shows
This is where a professional job announces itself, and it happens before any tile is stuck down.
The instinct is to start against a wall and work across. That’s usually wrong. Bathroom walls are rarely square to each other, and starting from one guarantees the error accumulates into a wedge-shaped cut somewhere visible.
Instead the room gets measured and lines get established so that:
- Cuts at opposite walls are balanced rather than a full tile at one side and a sliver at the other
- The most visible sightline — usually straight in from the doorway — gets full tiles
- Cuts land where they’re least noticeable, under the vanity or behind the door rather than in the middle of the floor
- Joints line up with anything they meet: the shower entry, a threshold, wall tile if it’s continuing up
Dry-laying a run before committing takes very little time and prevents the mistake you can’t undo.
Setting the tile
Mortar is mixed to the right consistency, combed out with the correct notch size for the tile, and the tile is set with proper coverage on the back. Large-format tile generally needs back-buttering as well as a combed bed, because coverage is what stops tiles sounding hollow and cracking under load later.
Consistent joint width, tiles bedded to the same height, and constant checking against the layout lines. This is the part that looks like the job and is actually the most straightforward stage if everything before it was done properly.
Around the obstacles
Bathrooms are full of things to cut around: the toilet flange, a vanity, a door casing, a floor register, pipe penetrations. Curved cuts around a flange and neat notches around casings are what a close inspection judges a floor by.
The toilet flange also has to end up correctly positioned relative to the finished floor height — something worked out before tiling, not discovered when the toilet goes back.
Grout, movement joints and sealing
Grouting happens after the mortar has cured, not the same day. Joints get filled fully, the surface cleaned properly, and the haze removed before it sets.
Where the floor meets a wall, a tub, or a shower entry, the joint should be flexible sealant rather than grout. These are changes of plane where movement happens, and rigid grout in them cracks. It’s a small detail that gets skipped constantly.
Natural stone needs sealing; most porcelain does not. Grout may or may not, depending on type.
Where DIY stops being sensible
Tile setting is genuinely learnable, and a careful homeowner can produce a good floor in a simple room. Being honest about where it gets hard:
- A floor that isn’t flat or isn’t stiff. Diagnosing and correcting that is the technical part, and getting it wrong wastes everything on top.
- Large-format tile. Much less forgiving of substrate and technique.
- Natural stone. Heavier, more fragile, needs deliberate layout, punishes mistakes.
- Anything continuing into a shower. That’s a waterproofing assembly, not a tiling job, and the consequences of an error are structural rather than cosmetic.
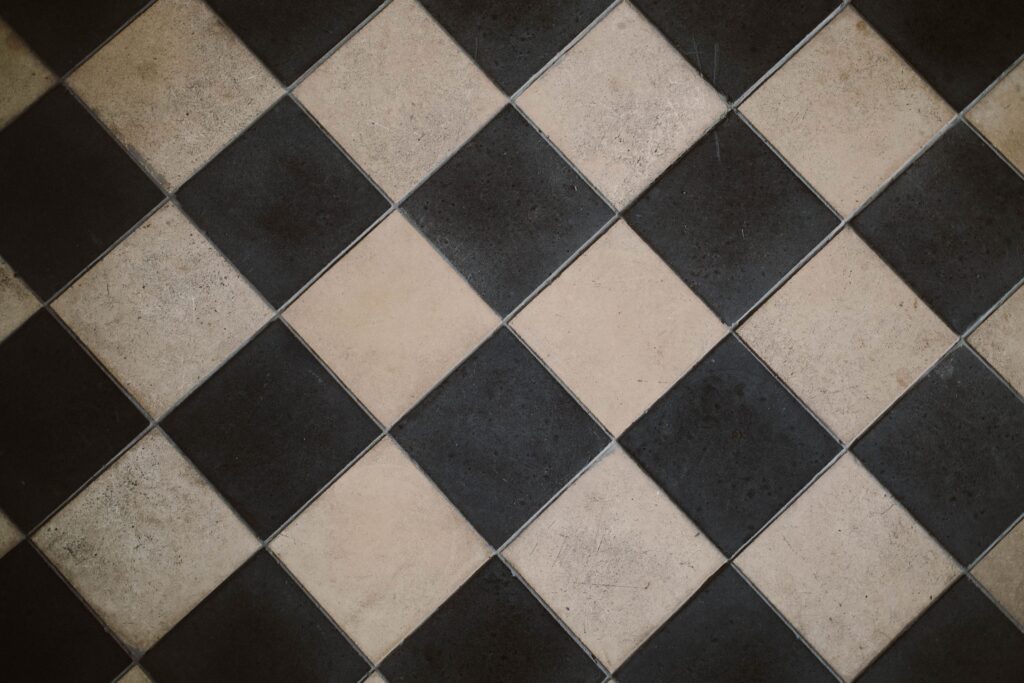
- Complex layouts. Herringbone and diagonal patterns multiply the cuts and the ways to go wrong.
The realistic assessment: the setting is the accessible part, the preparation and the layout are where experience shows, and the shower is where it stops being a DIY job.
What a good floor looks like
Flat, with no lippage you can feel. Balanced cuts at the perimeter. Full tiles on the main sightline. Consistent joints. Neat cuts around the flange and casings. Flexible sealant at every change of plane. And underneath it, a substrate that was made right before anything was stuck to it.
Because tile is what we do in house rather than subcontract, this is the part of a bathroom we’re most particular about — and the part where the difference between a rushed job and a careful one is most visible years later.
If you’re planning the work, removing old bathroom floor tile covers the stage before this one, what it costs to retile a bathroom explains how it prices out, and whether you can tile over existing tile answers the shortcut question honestly. You can see finished tile work in our project gallery or get in touch.