Most bathrooms that read as luxurious aren’t expensive because of one headline item. They’re expensive because every decision in the room was resolved — the layout works, the tile lines up, the lighting is doing three different jobs, and nothing looks like it was worked around.
That’s genuinely good news if you’re planning one, because it means the feeling you’re after comes mostly from planning and execution rather than from buying the most costly version of everything. Here’s how to approach the design so the result actually looks considered.
Start with the plan, not the finishes
It’s tempting to begin with a tile you’ve fallen for. Resist it. The single biggest difference between a luxurious bathroom and an expensive one is whether the space itself works.
Give the room room
Generous clearance in front of the vanity, a door that doesn’t collide with anything, a shower you can enter without turning sideways, and a toilet that isn’t the first thing you see from the doorway. These are unglamorous decisions and they do more for how a bathroom feels than any material.
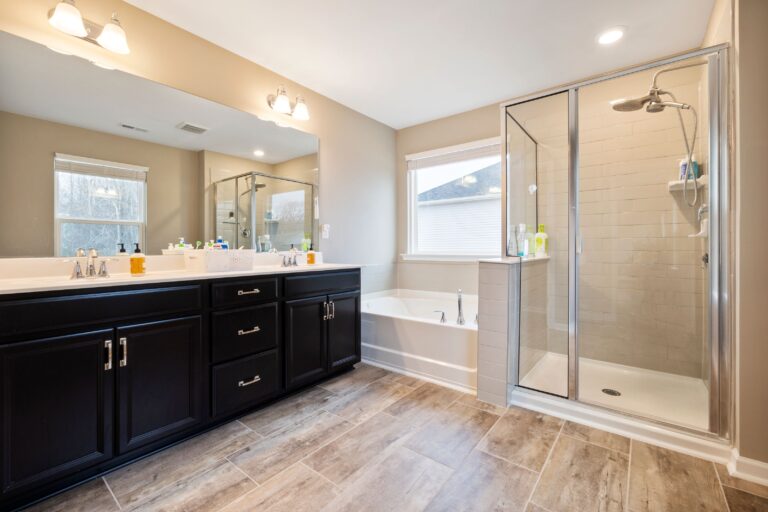
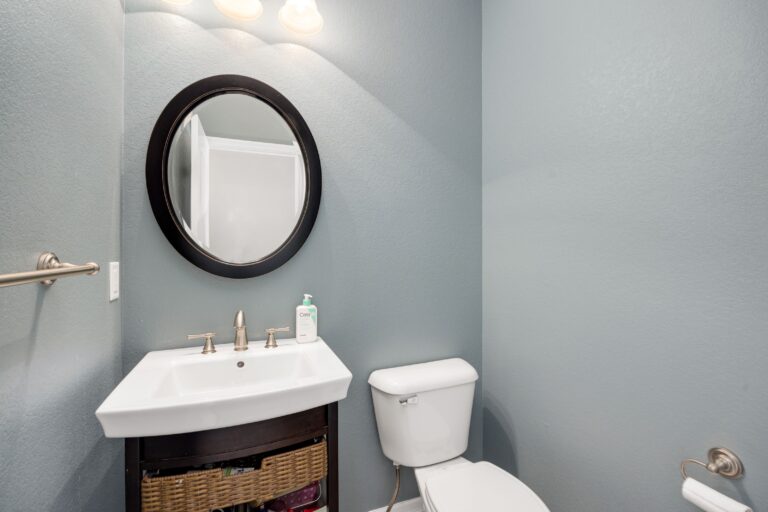
If the footprint is tight, it’s usually better to have fewer elements done properly — a large, beautiful shower and a single well-proportioned vanity — than to squeeze in a tub, a double vanity and a separate shower that all end up undersized.
Decide what you actually want in the room
A separate soaking tub is a genuine luxury if you’ll use it. If you won’t, the space is better spent on a larger shower. Be honest at this stage rather than installing what a bathroom is “supposed” to have.
Think about sightlines
Consider what you see when the door opens, and what’s visible from the vanity mirror. The best view in the room should be the one you get most often. This costs nothing to plan and is nearly impossible to fix afterwards.
Material selection is where it’s won or lost
Fewer, larger surfaces read as more expensive
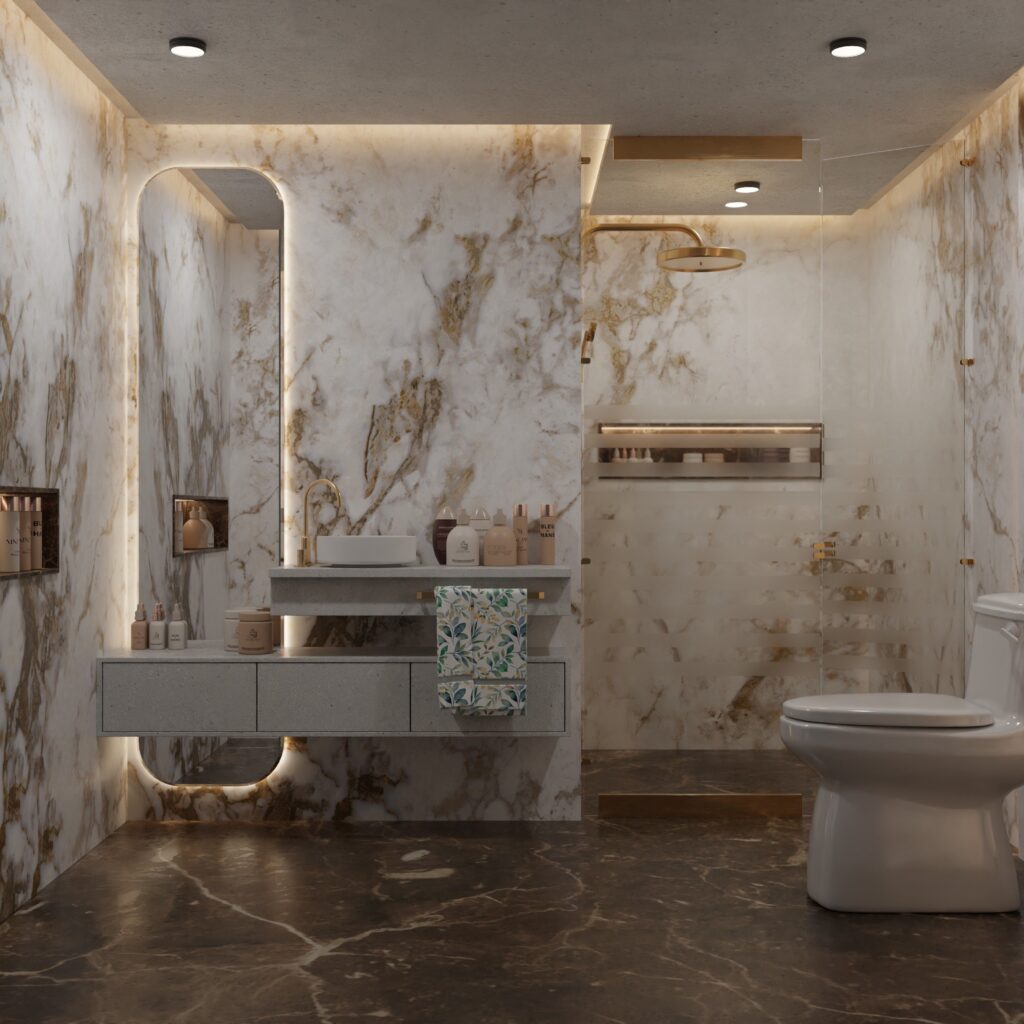
Large-format tile with minimal grout lines gives a calmer, more continuous surface than the same area broken up into small pieces. Slab material on a shower wall or vanity backsplash takes that further, with almost no joints at all.
Both demand precision. Large formats need a very flat substrate, and slabs need careful templating and handling. The look depends entirely on the quality of the installation, which is why it’s worth discussing with whoever will actually be setting it before you commit.
Natural stone or porcelain
Stone has depth and variation that porcelain still can’t fully imitate up close, and no two pieces are identical. In exchange it asks for more care: sealing, gentler cleaning products, and an installer who understands that a veined marble needs its pieces laid out deliberately rather than pulled from the box at random.
Modern porcelain is remarkable, effectively maintenance-free, and available in large formats and convincing stone looks. Choosing it is not a compromise — it’s a different set of tradeoffs. What matters is choosing deliberately rather than by default.
Restrict the palette
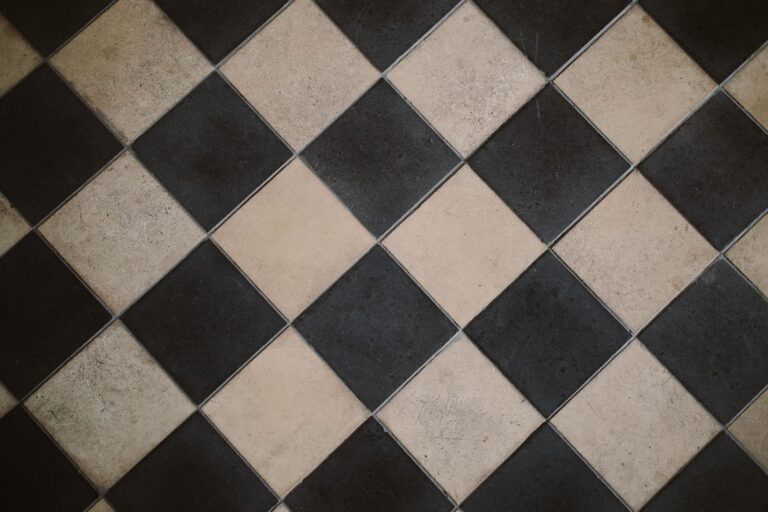
Rooms that feel high-end usually contain fewer materials, not more. One primary surface material, one accent, one metal finish, repeated with discipline. The instinct to introduce a different tile on every plane is what makes a bathroom look busy rather than rich.
The details that separate finished from nearly finished
Layout lines and alignment
This is the detail almost nobody names but everybody notices. Grout joints that carry through from floor to wall. A niche whose opening lines up with the surrounding tile courses rather than cutting awkwardly across them. Cuts balanced so you don’t end up with a full tile at one end of a wall and a sliver at the other. A drain centred in its field.
None of that happens by accident. It’s set out before the first tile goes on, and it’s the clearest signal of a careful installation.
Edges and transitions
Outside corners, the top edge of a wainscot, where tile meets a door casing, where the shower floor meets the bathroom floor. Mitred edges, well-chosen profiles and consistent joint widths at these points are the difference between crisp and approximate.
Niches and built-ins that look intentional
A recessed niche sized to fit the tile module, positioned at a sensible height, with a properly detailed sill, looks like it was designed into the room. One placed wherever the framing allowed looks like it was added later. Same for benches: full depth, correctly sloped so water sheds, and tiled to align with the surrounding walls.
Light in layers
A single ceiling fixture flattens everything. Luxurious bathrooms almost always have at least three layers working together:
- Task light at the mirror — ideally from both sides at face height rather than solely from above, which is far more flattering and more useful.
- Ambient light for the room as a whole.
- Accent light — inside the shower, in a niche, under a floating vanity — which is what gives the room depth in the evening.
Dimming matters more here than in almost any other room, because a bathroom is used at very different times of day for very different reasons. Getting the electrical plan right requires deciding all of this before the walls close up.
Fixtures, hardware and the metal finish
Choose one metal finish and carry it through the room: shower valve, hand shower, faucets, drains, hinges, towel bars, even the vent cover if you can. Mixed metals can be done deliberately and well, but the safer route to a cohesive room is consistency.
Prioritise the pieces you physically touch — the shower valve and the vanity faucet — because their weight and action is where quality is most apparent day to day.
Storage that doesn’t undo the design
Nothing deflates a beautiful bathroom faster than bottles lined up on the tub edge. Plan real storage: a niche sized for what you actually keep in the shower, drawers rather than a single cabinet under the sink, and somewhere for towels that isn’t the back of the door.
Comfort details worth considering
Heated floors are among the most appreciated additions in a bathroom, and they need to be planned before the floor goes down. Good ventilation, properly ducted to the outside, protects everything else in the room. A well-placed bench and a hand shower make a large shower genuinely more usable. Steam is a significant addition with its own construction requirements — enclosure, ceiling slope, door seal and vapor control — and should be designed in from the start rather than added to a standard shower.
What quietly undercuts the whole room
- Too many competing materials and patterns
- Tile layout that wasn’t set out, leaving unbalanced cuts and misaligned joints
- A single overhead light doing all the work
- Undersized fixtures crammed in to tick boxes
- Beautiful finishes over a shower that wasn’t waterproofed properly
- Visible compromises — a vent in an awkward spot, a niche that doesn’t line up — that were never resolved at planning stage
That last point is the theme. Luxury in a bathroom is largely the absence of compromises you had to accept, which is why the design and set-out stage deserves more of your attention than the shopping stage.
Planning yours
If you’re at the stage of thinking about materials and layout, it’s worth having the tile discussion early — format, layout lines and substrate preparation shape what’s achievable, and they’re much easier to plan than to retrofit. Our project gallery shows completed tile and shower work, our guide to what drives the price of a walk-in shower goes deeper on the shower itself, and what a bathroom remodel costs covers how it all adds up. You can read about our bathroom remodeling services or get in touch to talk through a design.